


RockitSeal Installation Guide
See RockitSeal Installation Instructions PDF here...
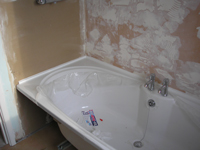
Our seals replace the bead of silicone sealant that so often goes black with mould and leaks, causing unseen damage. The step by step guide below shows a bath being fitted with RockitSeal before the room is tiled. The process to fit the seal over existing tiles is the same.
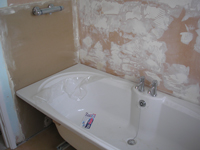
1. Bath ready to be sealed with RockitSeal
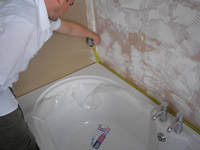
2. Measure bath
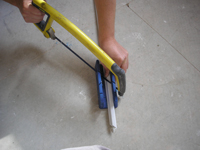
3. Cut strips using mitre block to get 90 degree corners
1. Bath ready to be sealed with RockitSeal
2. Measure bath
3. Cut strips using mitre block to get 90 degree corners
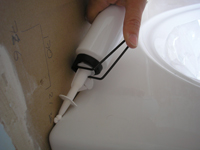
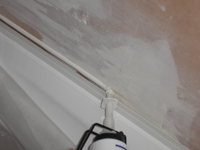
4. Apply sealing adhesive to bath rim ready for foot strips
5. Place RockitSeal foot strips
6. Foot strips positioned
4. Apply sealing adhesive to bath rim ready for foot strips
5. Place RockitSeal foot strips
6. Foot strips positioned
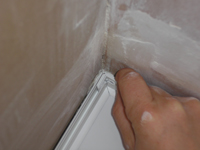
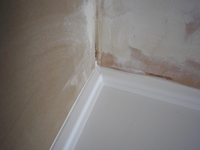
7. Fit corner tab to align corner
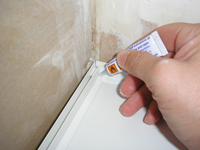
8. Weld corner with solvent adhesive
9. Apply sealing adhesive to wall
7. Fit corner tab to align corner
8. Weld corner with solvent adhesive
9. Apply sealing adhesive to wall
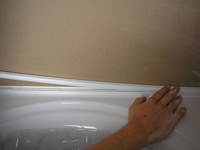
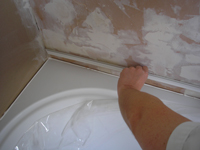
10. Fit top strip
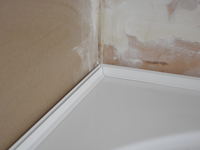
11. Completed corner, welded for a water tight seal
12. RockitSeal installation complete - ready to be tiled
10. Fit top strip
11. Completed corner, welded for a water tight seal
12. RockitSeal installation complete - ready to be tiled
